The Future of Artificial Intelligence
By Ehsan Yaghmori
•
Sunday, October 13, 2024
Infrastructure as Code (IaC)
Introducing Terraform
Installing Terraform
Set-ExecutionPolicy Bypass -Scope Process -Force;
[System.Net.ServicePointManager]::SecurityProtocol=[System.Net.ServicePointManager]::SecurityProtocol -bor 3072;
iex ((New-Object System.Net.WebClient).DownloadString('https://community.chocolatey.org/install.ps1'))
choco install terraform
terraform --version
Agenda
Terraform Providers
providers.tfterraform { required_version="~> 1.9.5"required_providers { aws= { source="hashicorp/aws"version="~> 5.64.0" } } } provider "aws" { region="us-east-1"default_tags { tags= { Environment="staging"Owner="Mukesh Murugan"Project="codewithmukesh" } } }
us-east-1us-east-1Writing Your First S3 Bucket on Terraform
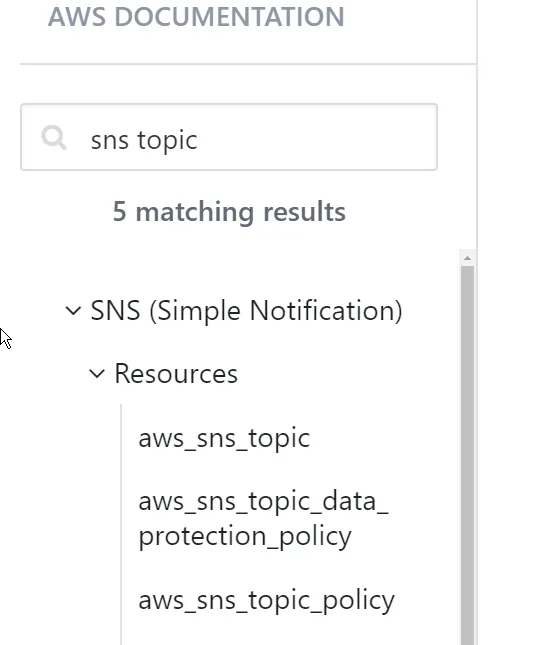
buckets.tfresource "aws_s3_bucket""codewithmukesh" { bucket="codewithmukesh-bucket" }
Terraform Lifecycle & CLI Commands
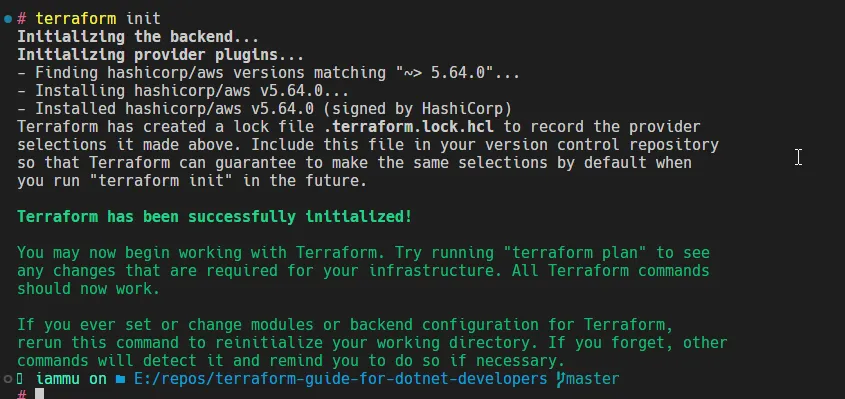
terraform init
terraform initterraform plan
terraform planterraform apply
terraform applyterraform apply -auto-approveterraform show
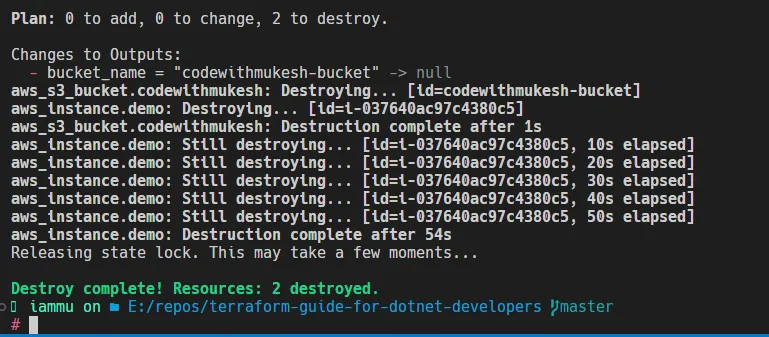
terraform showterraform destroy
terraform destroyterraform state
terraform stateterraform fmt
terraform fmtterraform validate
terraform validateterraform output
terraform outputWorkflow
-
.terraform init -
.terraform plan -
command, you would want to apply these changes to your actual infrastructure by running theplan
command.terraform apply -
command.terraform destroy
Authenticate Terraform to Manage Resources in AWS
providersprovider "aws" { region="us-west-2"access_key="my-access-key"secret_key="my-secret-key" }
provider "aws" {
    region="us-west-2"profile="mukesh"
}
mukeshDeploy S3 Bucket
-
.terraform init
-
command.terraform plan

aws_s3_bucket.codewithmukesh will be createdterraform planterraform plan-
, run aterraform plan
to apply your infrastructure changes. In the next prompt, type interraform apply
to confirm the deployment. I usually useyes
to skip this confirmation prompt.terraform apply -auto-approve


Terraform Variables
.tfTypes of Variables
-
ortrue
).false -
).["a", "b", "c"] -
).{ key1="value1", key2="value2" }
Defining Variables
.tfvariablevariables.tfvariable "region" { description="The AWS region to deploy resources in"type=string default="us-east-1" }
var. { variable_name } regionproviders.tfus-east-1provider "aws" { region=var.region default_tags { tags= { Environment="staging"Owner="Mukesh Murugan"Project="codewithmukesh" } } }
Setting Variables
-
.terraform apply -var="region=us-east-1" -
environment variable. RunTF_VAR_< variable_name>
.export TF_VAR_region="us-east-1" -
.terraform apply -var-file="variables.tfvars"
Terraform Output
Defining Outputs
output "bucket_name" {
    description="The name of the S3 bucket"value=aws_s3_bucket.my_bucket.id
}
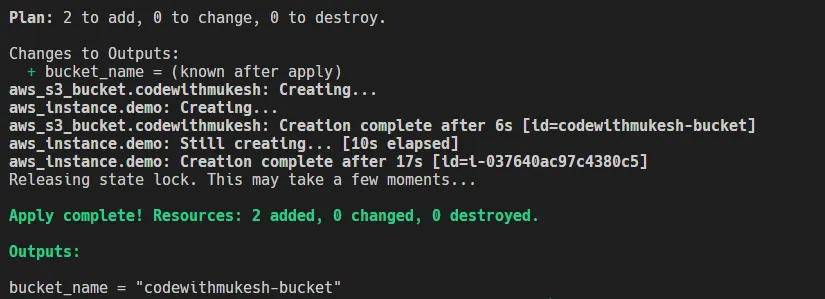
terraform apply
terraform outputState Management
terraform planterraform applyterraform.tfstateterraform.tfstate.backupWhy is the State Important?
Remote Backend with S3 & DynamoDB
Setting Up a Remote Backend with S3 & DynamoDB
cwm-tfstatescwm-state-locksLockIDterraform destroyterraform.tfstatemain.tfterraform { backend "s3" { bucket="cwm-tfstates"key="demo/beginners-guide/terraform.tfstate"region="us-east-1"dynamodb_table="cwm-state-locks"encrypt=true } }
terraform initterraform destroyterraform.tfstate
terraform planterraform applyterraform applyBenefits of Remote State Management with S3 and DynamoDB
Deploy EC2 Instance
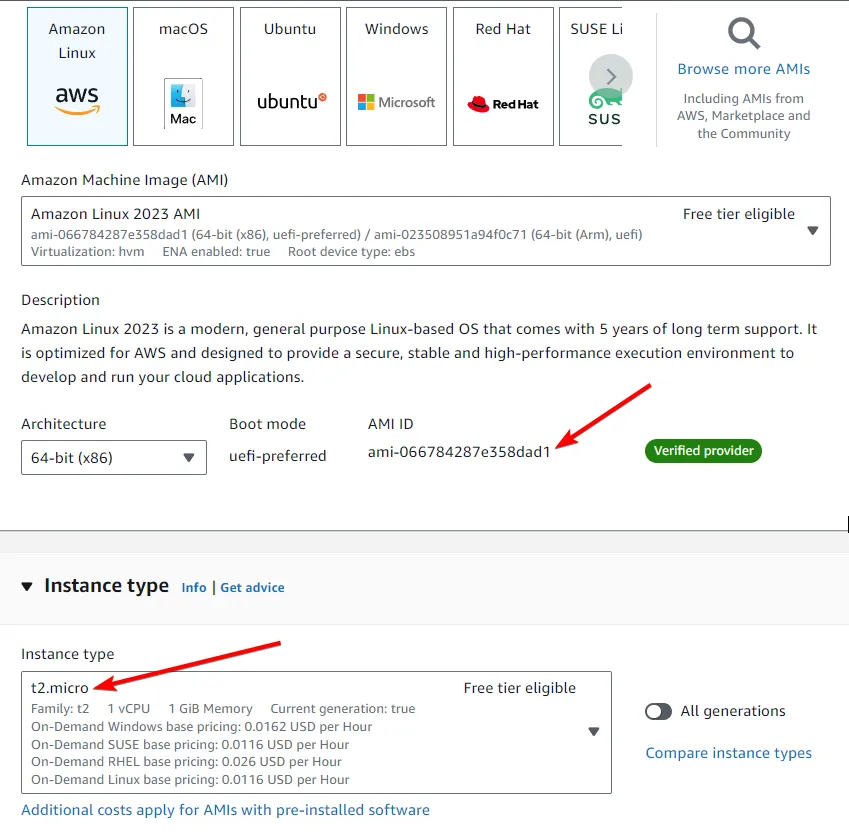
ec2.tfresource "aws_instance""demo" { ami="ami-066784287e358dad1"instance_type="t3.micro" }
Destroy Resources
terraform destroy